-
 Read More
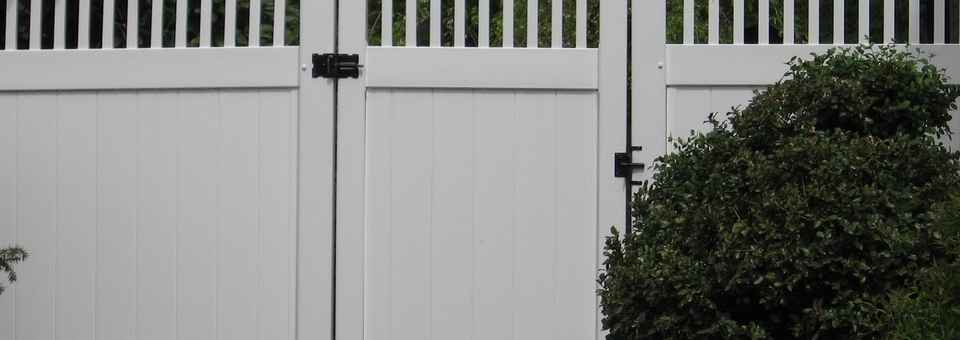
Advantages Of Vinyl Fencing
Vinyl fencing is the use of synthetic plastic in fencing around ones property. Although relatively new this method of fencing has become extremely popular in recent times with most home owners opting for it over other more traditional residential and even commercial property fencing such as wood. This method comes with many great benefits that......
-
 Read More
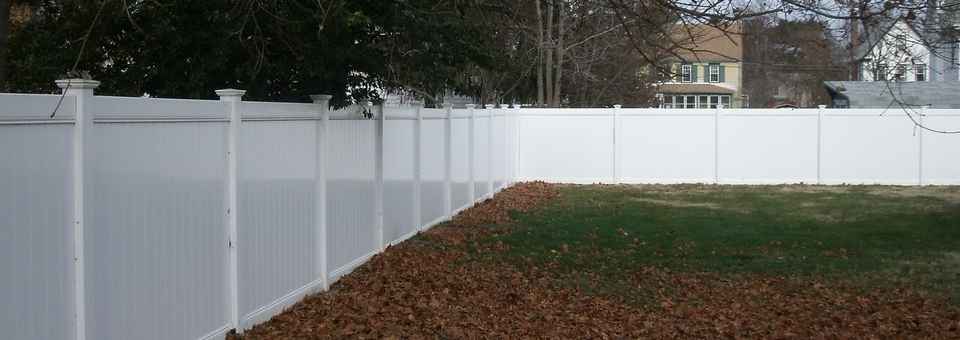
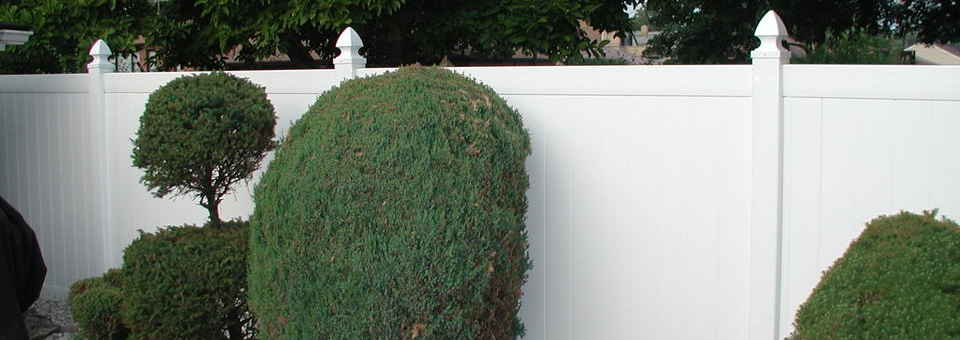
Vinyl Fence
Over the years the Vinyl fence has grown rapidly to fill an ever expanding market gap that was previously not apparent. The main reason for this exceptional growth can be linked directly to the many striking features that these fences usually posses. In most cases one is likely to be wowed by their appealing and......
-
 Read More
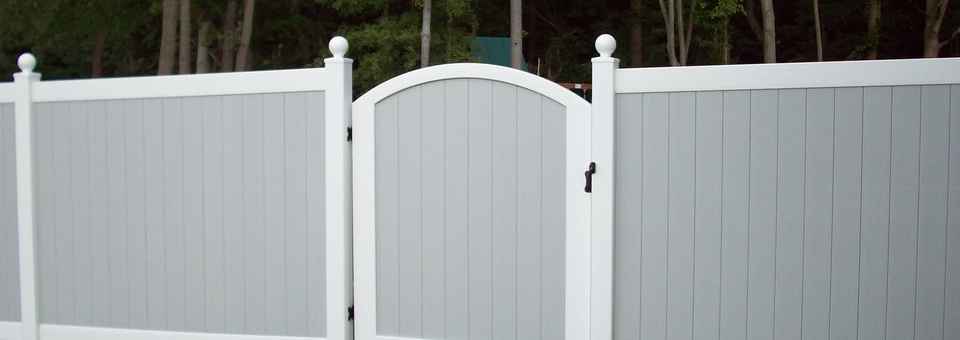
Plastic Fencing
Fences come in many different materials. Most of them are designed out of wood or aluminum, but they can still be just as durable in other materials as well. Plastic fences are generally a little more expensive than the usual materials, but they require less maintenance.
"Qualline fence" is a great website to go......
-
 Read More
How to install vinyl fence
Installing a fence is a project that can be completed in one day if done correctly. The most commonly used material to make fences out of is vinyl. Lowe’s has a wide range of fencing products and installation tools needed for the job. More options are on the website than in the walk-in store.
...... -
 Read More
Fence Panels
Fence panels are needed to support and protect fences. Most of them are vinyl material; but can be found in wood, steel, or aluminum as well. Most home improvement and some hardware stores contain fence panels and their necessary tools. They can be bought as is, or the customer can buy all the parts and......
Installing a fence is a project that can be completed in one day if done correctly. The most commonly used material to make fences out of is vinyl. Lowe’s has a wide range of fencing products and installation tools needed for the job. More options are on the website than in the walk-in store.
For beginners starting from scratch, there are several possible choices for getting help with completing this process. There are experienced professionals at Lowe’s or other home improvement stores who will share tips and helpful methods for how to install vinyl fence. There is always the option of looking up an expert in installing fences and other yard work, but this is the most expensive way to go. The most inexpensive and convenient option is to go to YouTube.com and type in “How to install vinyl fence”. Dozens of videos will appear, all with step by step instructions of installing a fence.
The tools needed for installing a fence are the following: a shovel, post hole digger, tape measure, spud bar, level, rubber mallet, wooden stakes, string, concrete, a drill, a wheel barrow, a table saw, and a garden hose. Most people already have the majority of these tools somewhere in their garage, but if not, they can be purchased easily from any home improvement store and some hardware stores.
[ad]
Before beginning with the job, pick a wide area on the edge of the property boundaries where the fence would be suitable. It is absolutely crucial to make sure there are no obstacles in the way or underground! This includes objects such as gas lines or pipes. If the plan is to work around them, mark them significantly with some orange tape or bright colored spray paint.
Dig the end and corner posts. Using concrete, level the bottom row of the posts one to two inches off the ground. The concrete should be set around the ENTIRE post. Otherwise, the job is counterproductive. There should be two posts total. Use the tape measure to measure the entire distance between each of the posts. The top and bottom rows for each post are six foot, so when dividing the post evenly, keep it under 5’8”. Mark the lines with orange tape or bright colored spray paint.
Using the string, mark the area where the new posts will be installed. This step will be repeated throughout. Now dig the holes where the new posts will go. If property is unlevel, set the posts into the high spots first. Just like with the end and corner posts, the bottom row needs to be one to two inches off the ground. Set the posts into each hole with concrete.
When the concrete is dry, remove any residue it from the bottom of the post, if possible. This should be done the same day so that the concrete doesn’t become too hardened. Place some sort of insert inside the post where the gate will be located. Pour concrete inside the post. The concrete should be about one inch beneath the bottom hole. The posts can now be filled with dirt, but no higher than the bottom hole. This method will prevent the post from cracking in the winter months. Wait two days before completing the final steps so that the concrete can dry.
Now the bottom and top row of the post, for each section, need to be cut. Measure two inches from each end and mark them. Cut the marked ends off using a table saw. Now fit the finished product into the bottom row and continue throughout.
The next step is to install pickets. Making sure the groove side of the picket is against the set post, fit them into the structure. Use the tape measure to measure the distance between the picket and the post. Mark it.
Using a metal table saw, cut the marked areas off the picket. Fit the now-cut picket into the structure and slide the top row in. Repeat these steps and continue throughout. Make sure to use the leftover cut pickets for the rest of the sections.
To secure the top row, drill a three inch screw in. To prevent gaps, pressure can be applied to the posts while using the drill. Now apply caps to the top of the posts, using hardware glue or by drilling more screws in.
To hang the gate, first screw the hinges into the still frame surrounding the gate. Keep adjusting the height until it matches the top row of the fence. Secure the gate to the post. Apply the latch, then the striker on the appropriate area on the other side. Place one screw inside the striker. This completes the process.
Make sure to always wear safety equipment and have a partner to aide in the process.